Mar 15, 2011

Tools of the Trade

Before we even started tiling, we saw that the ends would need custom fitted tiles. We'd have to cut the tiles to size.

This is what Eric started out with first... this scores the tile first and then snaps it to the right size. 


It was cost effective and fairly accurate. But... it wasn't accurate enough. So, we had to upgrade:


This is an electric saw with a water bath (under that metal plate) that kept the blade continuously wet. It would make an awful racket, but it was better for getting smaller, trickier tile sizes.

Next time... the shower is complete!

Feb 25, 2011

2 Months Rapido

So the tiling officially began... and it was SLOW going. 

Day 1


Day 2: Some extra help from our girl Candace


About 3 Weeks Later: Ready for accent tiles... finally.


Close-up Glamor Shot:  Look at those even lines!


After About 1 Month: Shiny and so pretty.


Except... oops... One of my tiles fell out.


After spending one whole month doing just one wall, we really kicked it into gear and aimed to finish the rest in a couple of weeks. Of course, it took longer than that.

Another Week Bites the Dust:


At Around 1.5 Months:


 This is A LOT harder than it looks.... approaching 2 months:


Here's Eric putting the final rows of mortar on the wall for us to finish this side.


I'm tired from just putting these pictures up! Next time... the last and most complicated wall is finished. And, a special peak at the tools of the trade (we had to upgrade in the middle of the project).

Feb 2, 2011

Commence Tiling!

Before we began tiling... we had to attach a level wooden beam to the wall to make sure we didn't put the tiles on all crooked. We actually left the last row empty and attached the wooden beam so that we would start at the second row of tiles. Eric drew a line perpendicular to the wooden beam and down the center to act as a guiding line for our tiling.


Here's a pic of Eric putting the first of the mortar on the wall. He's using thin-set mortar in white (blanco!).


It looks way easier than it really is. Eric let me try once and I gave up... you actually need a lot of arm strength and you have to be super fast because the mortar starts drying up.


Here are the first three tiles of our new shower... first, Eric:


There's me in the corner preparing for the second tile... and here I go:


I look worried because it was actually pretty tough to wriggle the tile into place. The mortar was pretty thick and I kind of suck at things that require brute strength. Now, for our third tile, we have a special guest from Tel Aviv... CANDACE:


Awww... she's so cheerful. She's much stronger than I am. I'm pretty sure my tile might fall off in another 6 months or so... sad, but true.

Next post... you'll get to time travel... that is see 2 months happen right in front of your eyes!

Jan 30, 2011

Drip drip drip

We were all set to start tiling, but got a call from our HOA president that there was a huge water leak in the garage below our bathroom. <Dramatic Music>

The next day was spent dealing with a plumber and the HOA to figure out that the unit above us had a leak that was dripping down to our floor and seeping below into the garage. In fact, you could hear a "drip drip drip" noise behind the wall of our bathroom.

Contractors came out and tore out an entire wall (behind the toilet) and installing these huge industrial dryers in the bathroom to dry out our wall/floor.

You can see some water damage in the wood flooring behind the wall, too. Now... we have no wall.


At least this means the HOA will pay for repainting the bathroom (plus the new wall)!

We finally begin tiling...

Jan 20, 2011

Tile Makeover

This is what I had been anxiously waiting for since we started tearing down the tiles... picking out new tiles! Easier said than done, though. There are just SO many options. We had to decide on a look first. Modern? Classic? Marble?

We went to a lot of different tile specialty shops and saw some really pretty tiles, but they were pretty pricey.

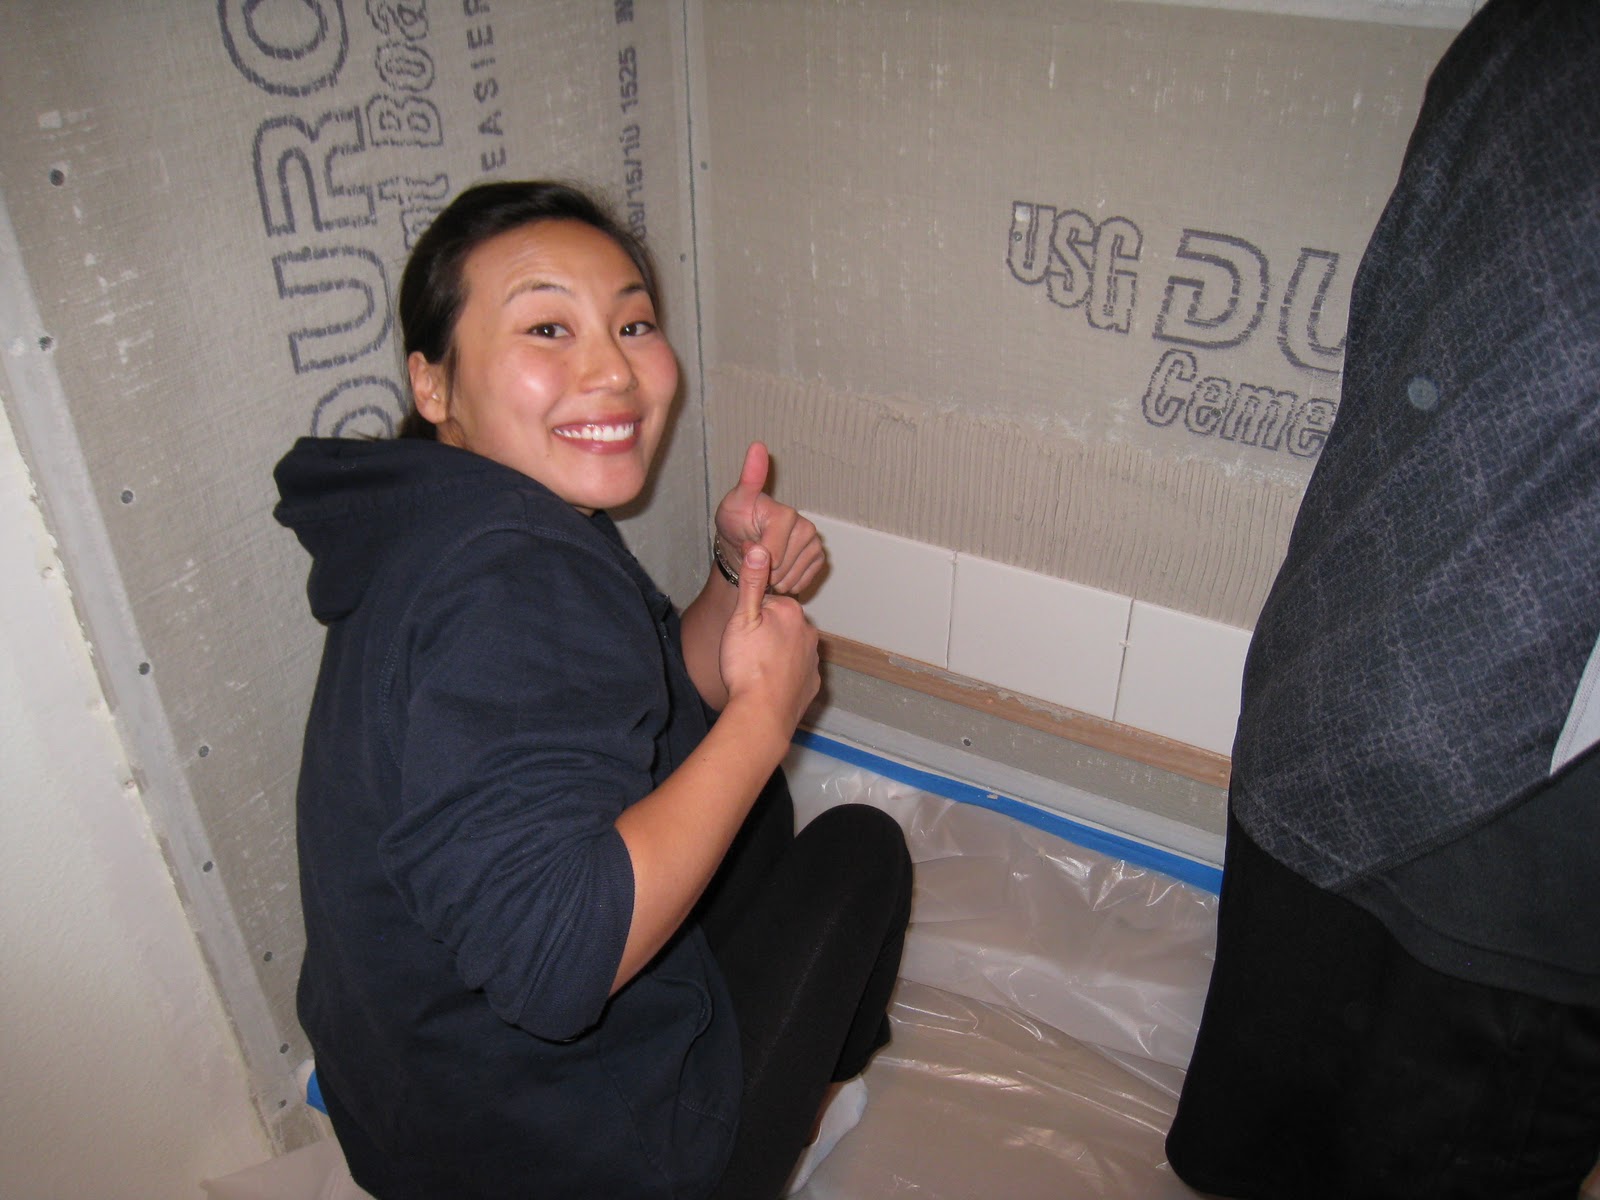
Then, we realized we were limited by the way we did our cement boards. They stick out a little over the wall.

So, we realized we couldn't get tiles that need to be flush with the surrounding wall. We needed a curved end tile, similar to the style we just tore down!

In the end, we ended up at Home Depot to get the white Dal tiles that had curved end tiles. But, we did change it up a bit by getting rectangular subway tiles instead of the square ones we just tore out. Here's a pic of the tiles we bought online...


And we got some pretty accent tiles, too!

I was deciding between green ones or blue ones and went with green. Relaxing.


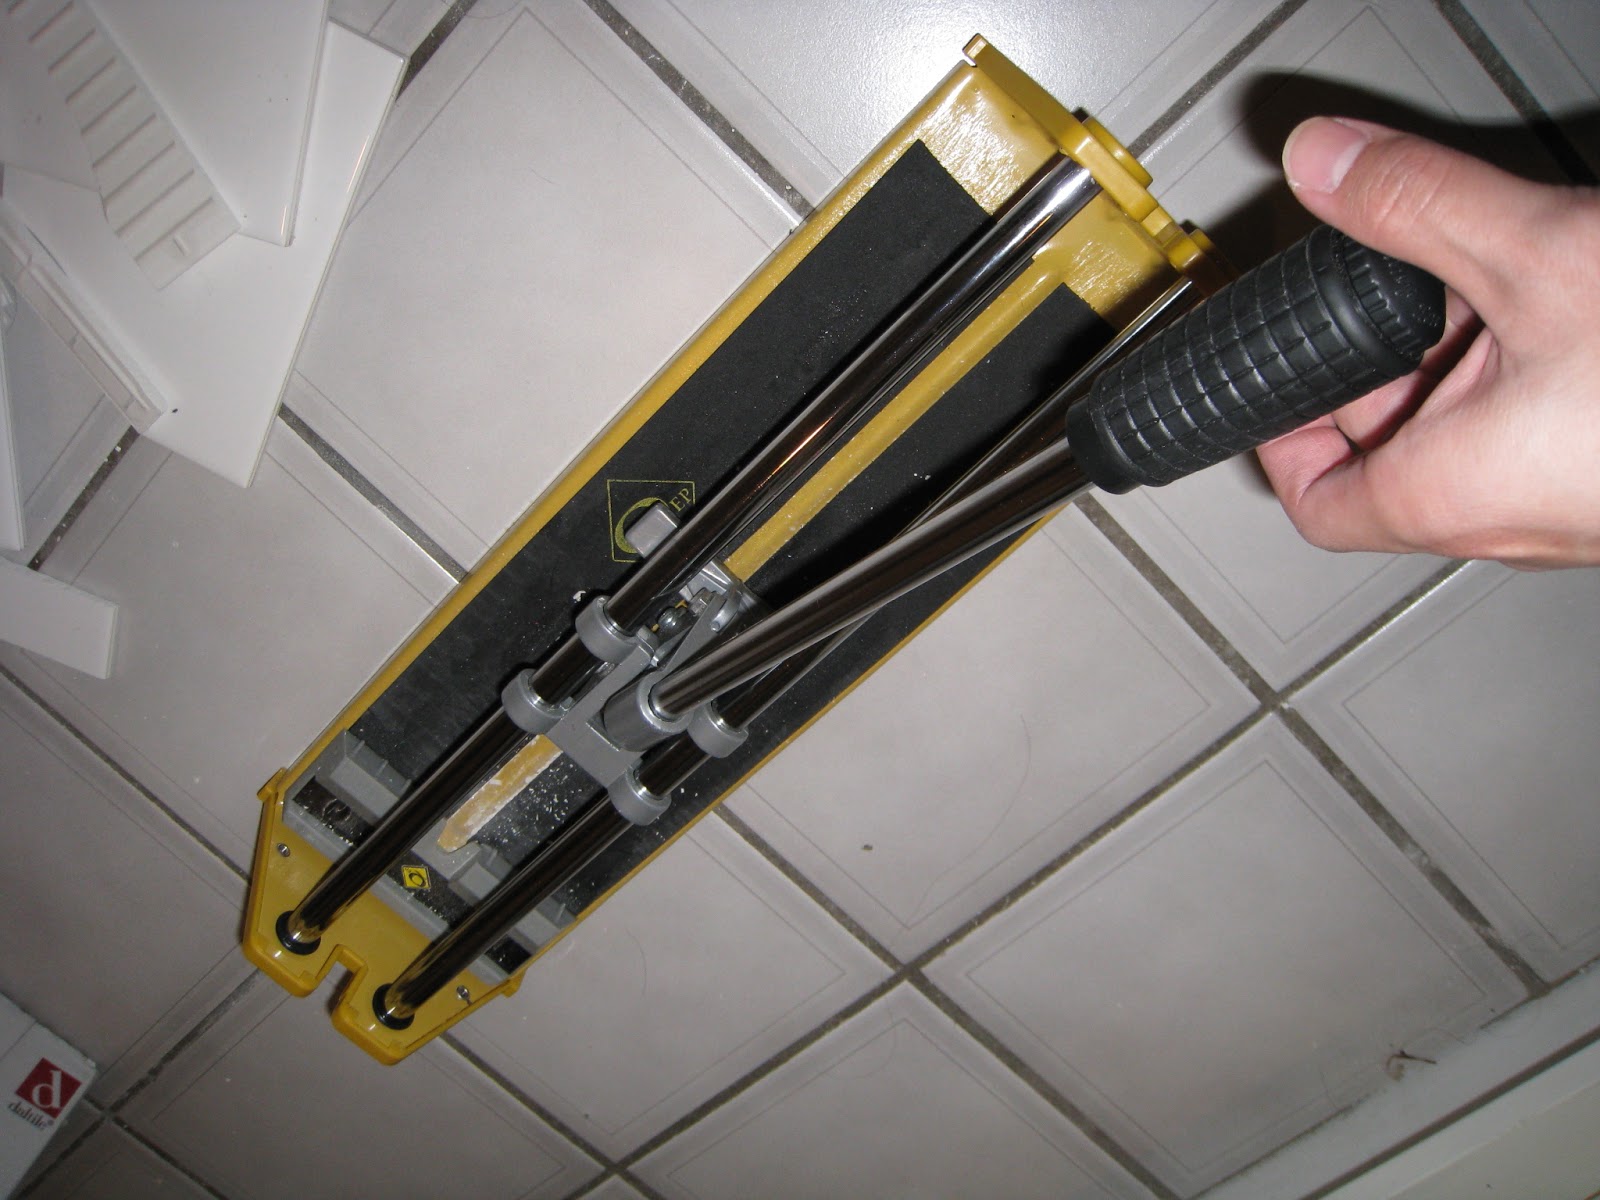
We bought some tile spacers to make sure we left enough room for the grout between the tiles. We're all set to start tiling! Except... disaster strikes...

Jan 9, 2011

Cement Boards Up!

After putting up the greenboard, another waterproofing layer of cement board goes up.


Eric had to use special screws to get these cement boards in place.

Again, as with the greenboards, we had to cut these to the right size to make sure they fit properly. Surprisingly, just score and snap and they break off into pieces. It wasn't as easy as it was with the greenboard and a lot messier, but it wasn't all that difficult, except around the waterspouts.


We also made sure that there was a slight gap to prevent water from being absorbed up into the cement board from the tub layer.


Next time... tile selections!! Seriously, the best part of remodeling... picking your new look.

Dec 28, 2010

Bathroom Surgery

We stripped off all the tile and the moldy drywall layers to find the guts of what makes up any building.

Naked bathroom
We decided it would be okay to keep some of the top section of the original drywall because that wasn't damaged by water over the years. You can see a bit of gray at the top of the picture above.

We bought drywall boards from Home Depot and transported several 5'x6' boards in my little Honda Fit! The drywall boards, also called greenboards, come in different thicknesses. Ours is 5/8". Obviously, the boards were bigger than the spaces we needed to fill so we used a giant metal ruler to measure out the necessary sizes and scored the drywall to the right size. Then, SNAP, we just broke the drywall into the right size. Neater than I thought it would be. We used special screws designed for drywall to fasten the boards to the wooden posts.

Putting up greenboard
Soon, our walls were no longer naked.
Fully clothed walls
Next part was a bit more difficult... sizing and putting up concrete backer boards.